
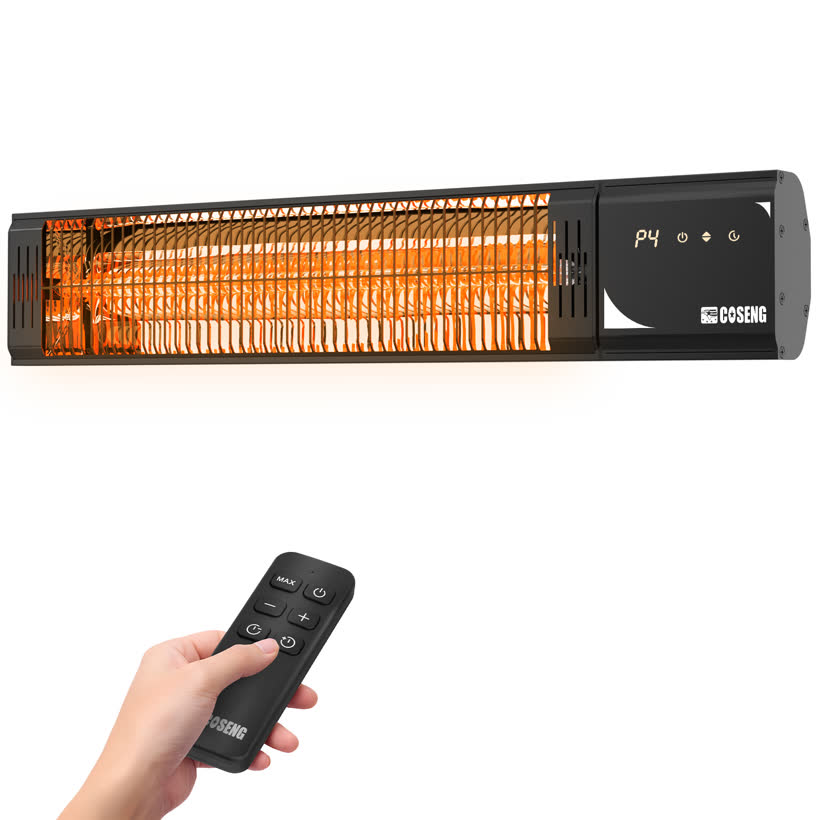
Heatune 927
Your wall-mounted outdoor / indoor infrared heater — set it up, learn the controls, troubleshoot and register, all on this page.
A closer look at the 927
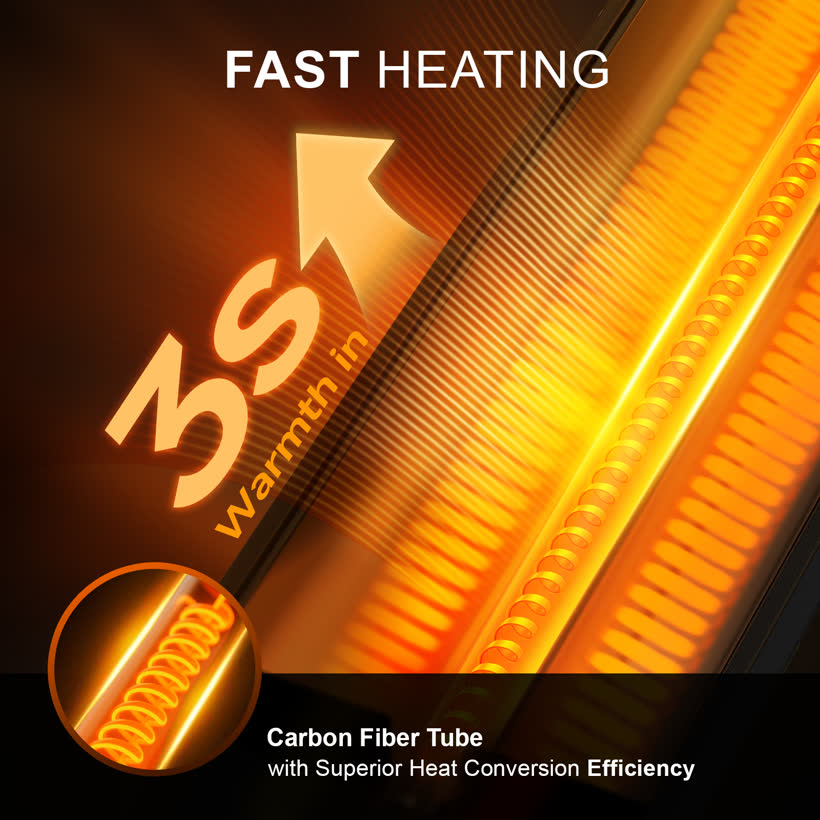
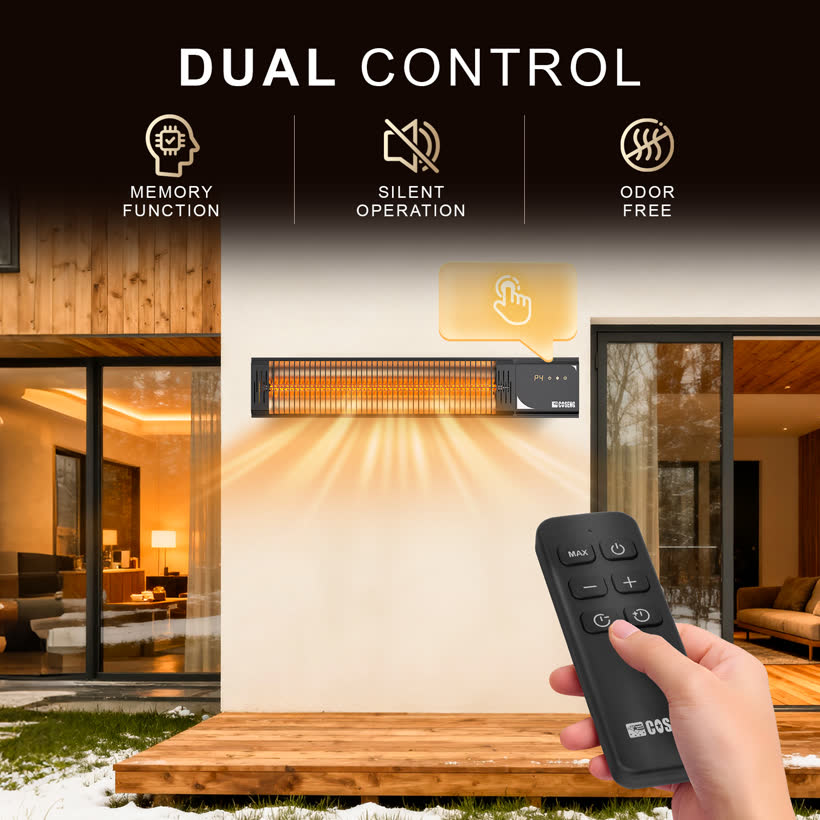
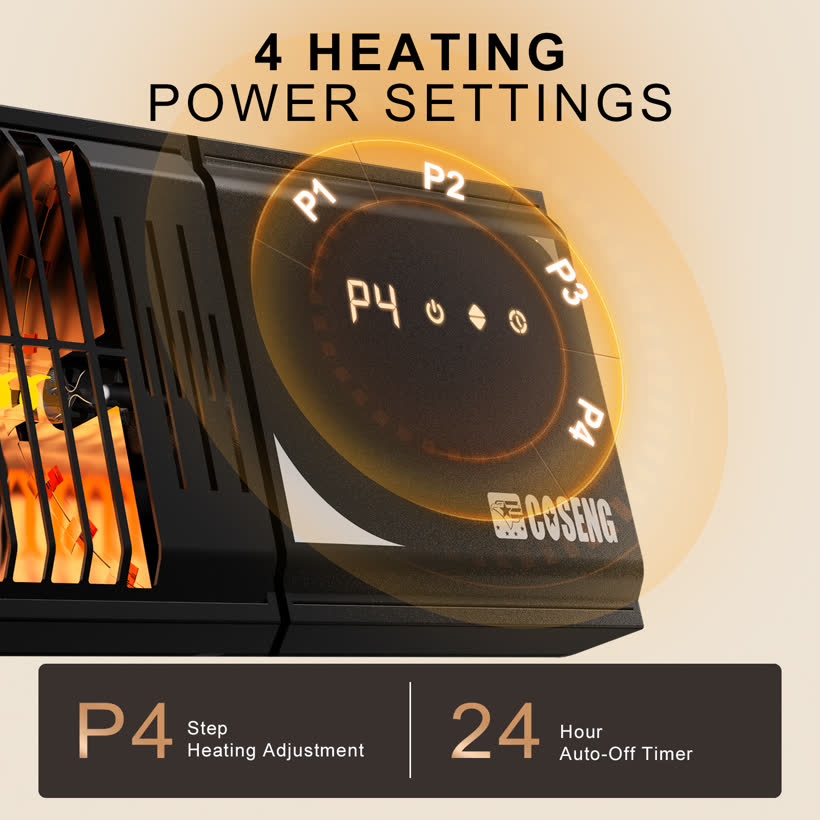
Carbon-fiber fast heating, dual control, four power levels, simple mounting and a weatherproof build.

Heatune 927 specs
Full details are in your manual and on the heater's rating label.
From box to first heat in 4 steps
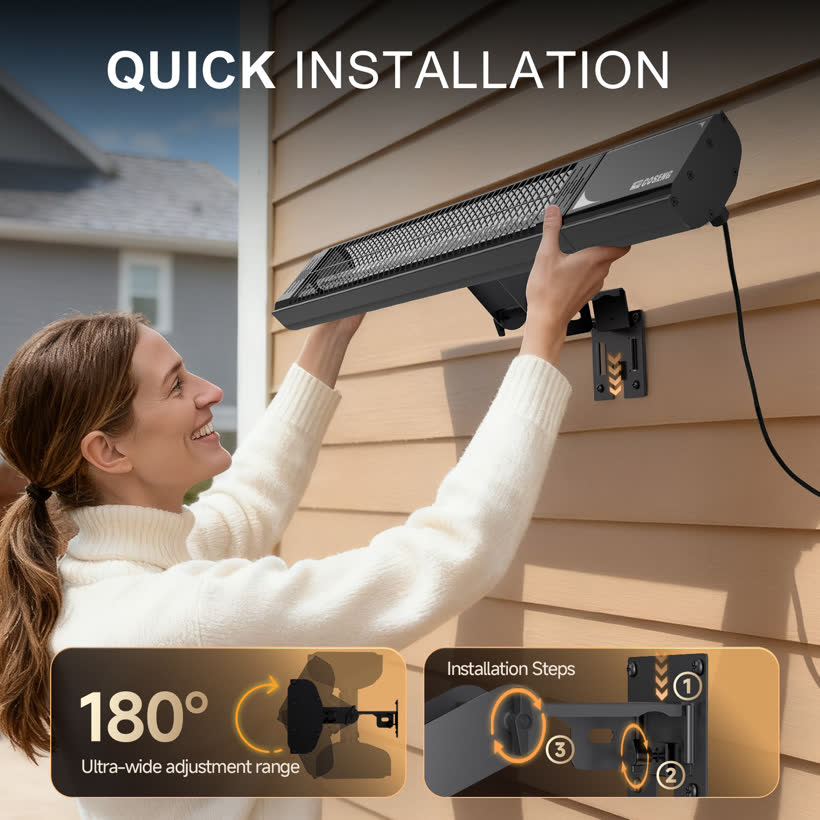
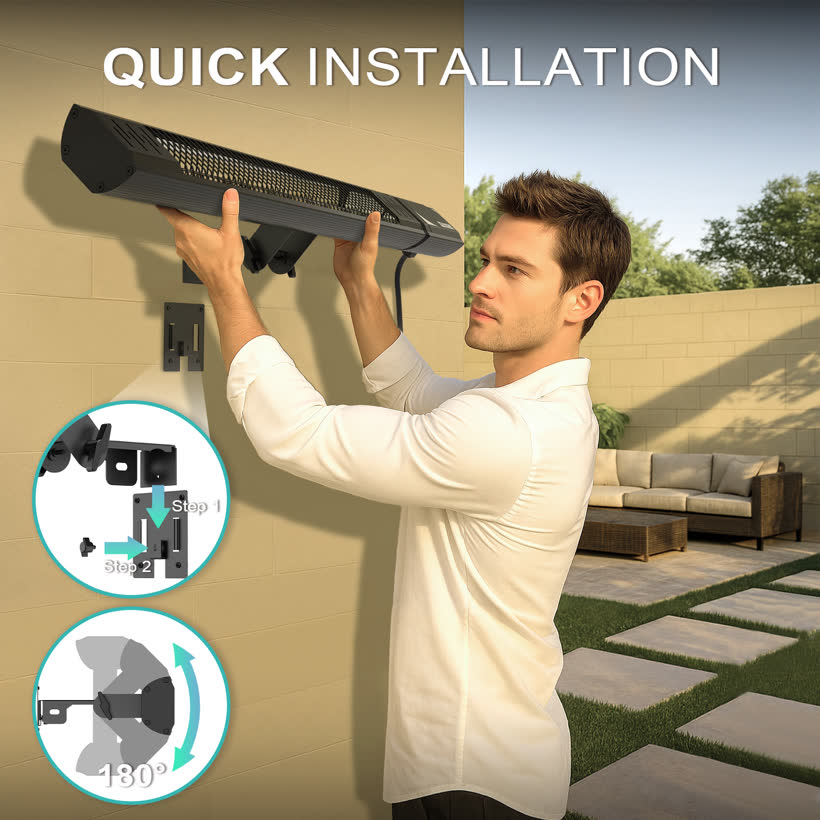
The Heatune 927 mounts to a wall with the included bracket and tilts up to 180°. Always follow the safety clearances in your manual.
Mount the bracket
Fix the wall bracket to a solid wall using the supplied hardware, at the height shown in your manual. Avoid flammable surfaces.
Hang & lock the heater
Slot the heater onto the bracket (Step 1), then secure it (Step 2). Confirm it's firmly locked before letting go.
Set the tilt
Angle the heater within its 180° range to aim warmth at your seating area, then tighten the pivot.
Power on
Plug into a suitable grounded outlet. Tap the touch panel or remote power button — you'll feel heat within seconds.
Two ways to control it
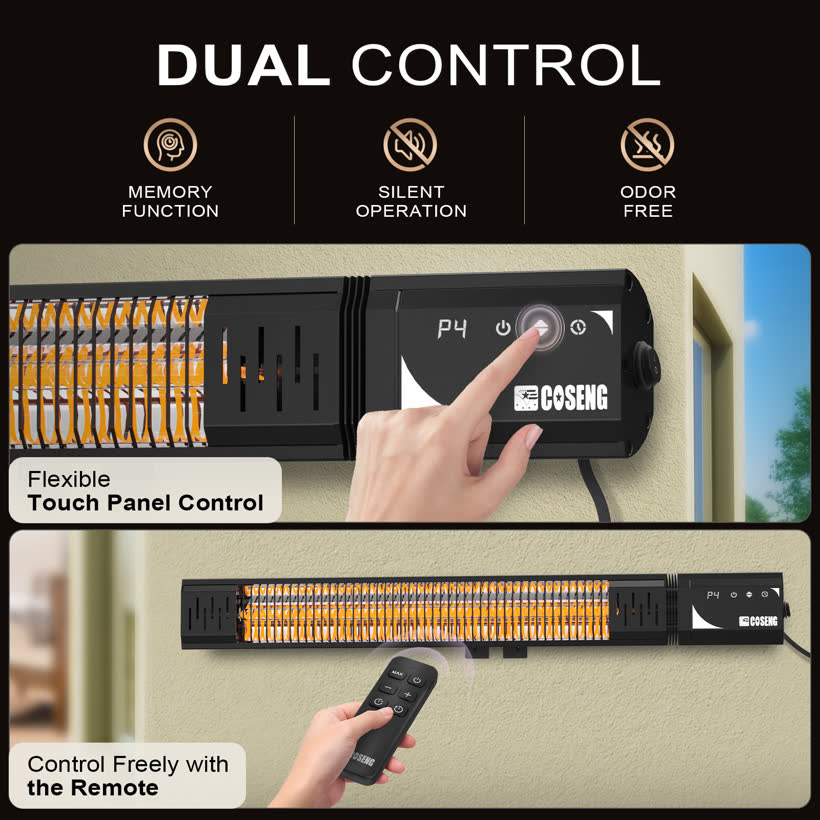
Use the touch panel on the unit or the wireless remote — whichever is closer. Your last settings are remembered when you switch it back on.
Quick fixes for common questions
Most issues are solved in under a minute. If yours isn't here, our team is one email away.
?The heater won't turn on+
Work through these in order:
- Confirm the plug is fully seated in a working, grounded outlet (test the outlet with another device).
- Check your home's breaker / GFCI hasn't tripped. Reset it if needed.
- Try the touch panel and the remote — if only the remote fails, see the remote section below.
- If it still won't power on, stop using it and contact support.
🔥It powers on but doesn't feel hot+
Infrared heat warms you and objects directly, not the surrounding air — so it can feel different from a fan heater.
- Make sure you're within the heater's aim. Re-angle the unit toward your seating area.
- Step the level up to P3 or P4 (or press MAX).
- Reduce the distance — infrared is strongest closer to the unit, within the clearances in your manual.
☏The remote isn't working+
The touch panel on the unit will keep working while you sort the remote out.
- Replace the remote battery and check it's the right way around.
- Point the remote at the control-panel end of the heater, with a clear line of sight.
- Reduce the distance and try again. Bright direct sunlight can occasionally interfere with the signal.
☂Can I leave it out in the rain?+
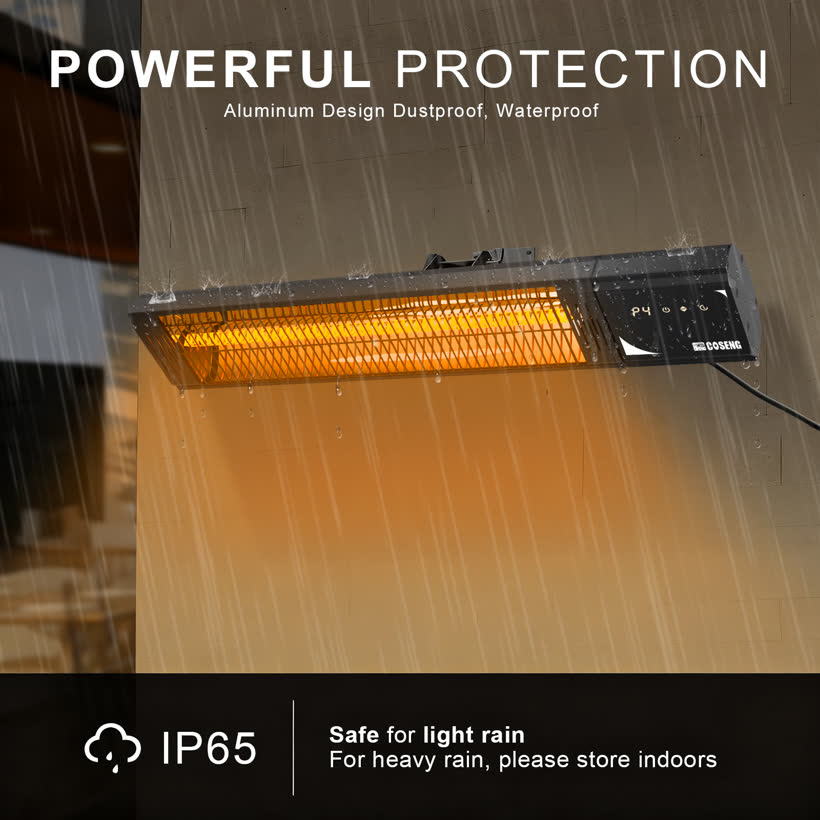
The Heatune is rated IP65 with an aluminum, dust- and water-resistant body — it's safe for light rain.
For heavy rain, storms or snow, switch it off and bring it indoors or cover it. Never operate a damaged unit, and let it cool before moving it.
⚡It trips the breaker+
At 1500W the heater draws significant current.
- Plug it directly into a wall outlet on its own circuit — avoid sharing with other high-draw appliances.
- Avoid lightweight extension cords and power strips, which can overheat or trip.
- If a dedicated outlet still trips, stop use and contact support.
⟳Faint smell or ticking on first use+
A slight smell when brand-new is normal as protective residue burns off during the first few minutes — run it in a ventilated area and it will clear.
Light ticking as the element heats and cools is normal thermal expansion. Persistent strong odor, smoke or buzzing is not — switch off and reach out to support.
⬇I need the full manual+
Download the complete trilingual (English / Deutsch / Français) user manual:
Register your Heatune 927
Registering activates your warranty and lets us reach you about safety updates and spare parts. Takes about a minute.
Activate your coverage
Keep your purchase on file so claims are fast and hassle-free.
Easier parts & service
We'll already have your model on hand if you ever need a remote, bracket or support.
Important updates
Get notified about safety notices and usage tips for your model.
Your details are used only for warranty and support. [Warranty terms & period — to confirm]
Still need a hand?
Reach a real person on the COSENG support team — we're glad to help.
Email support
The fastest way to reach us. Include your model and a photo if something's wrong.
support@cosengauto.comTypical reply time — to confirmSpare parts
Need a replacement remote, wall bracket or hardware? Email us with your model.
Request a part →Phone / WhatsApp
Prefer to talk it through? Reach our team during business hours.
[Phone / WhatsApp — to add]Number & hours to confirm